English

How to do Appliqué Embroidery
Guide to cover the process of digitizing and stitching appliqué embroidery, providing tools, materials, and step-by-step instructions for creating applique designs.


Welcome to our comprehensive guide on digitizing and stitching appliqué embroidery! Appliqué embroidery is a versatile and creative technique that adds texture and dimension to your projects.
In this guide, we’ll walk you through the process of digitizing and stitching appliqué embroidery, from selecting or creating a design to finishing touches. Whether you’re a beginner or an experienced embroiderer looking to expand your skills, this guide has something for you.
Understanding Appliqué Embroidery
Appliqué embroidery involves stitching fabric pieces onto a base fabric to create a design. This technique has been used for centuries and can be found in various cultures around the world. There are different types of appliqué embroidery, including zig-zag-edge, satin-edge, and bean stitches appliqué, each offering its own unique look and feel.
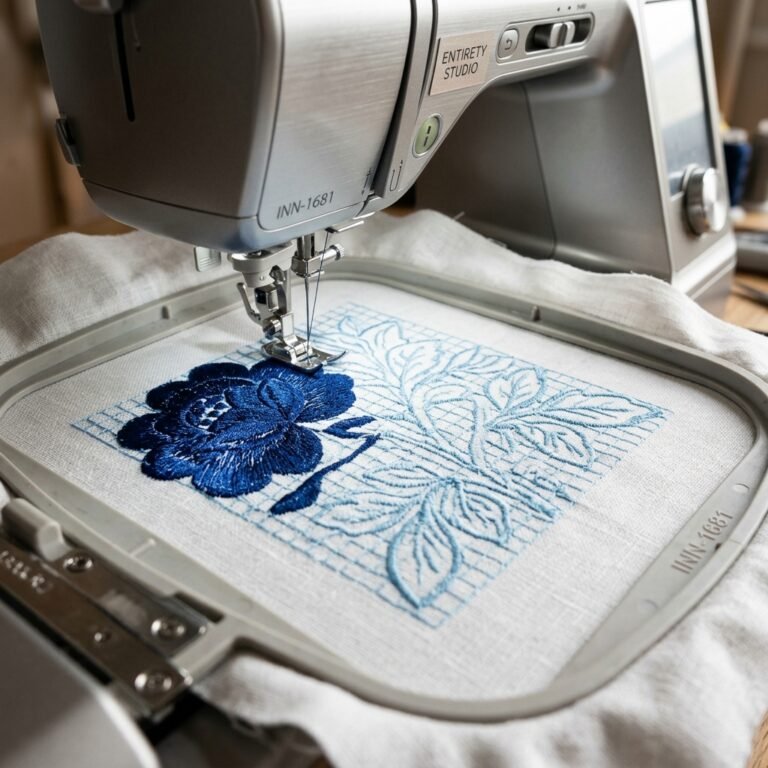
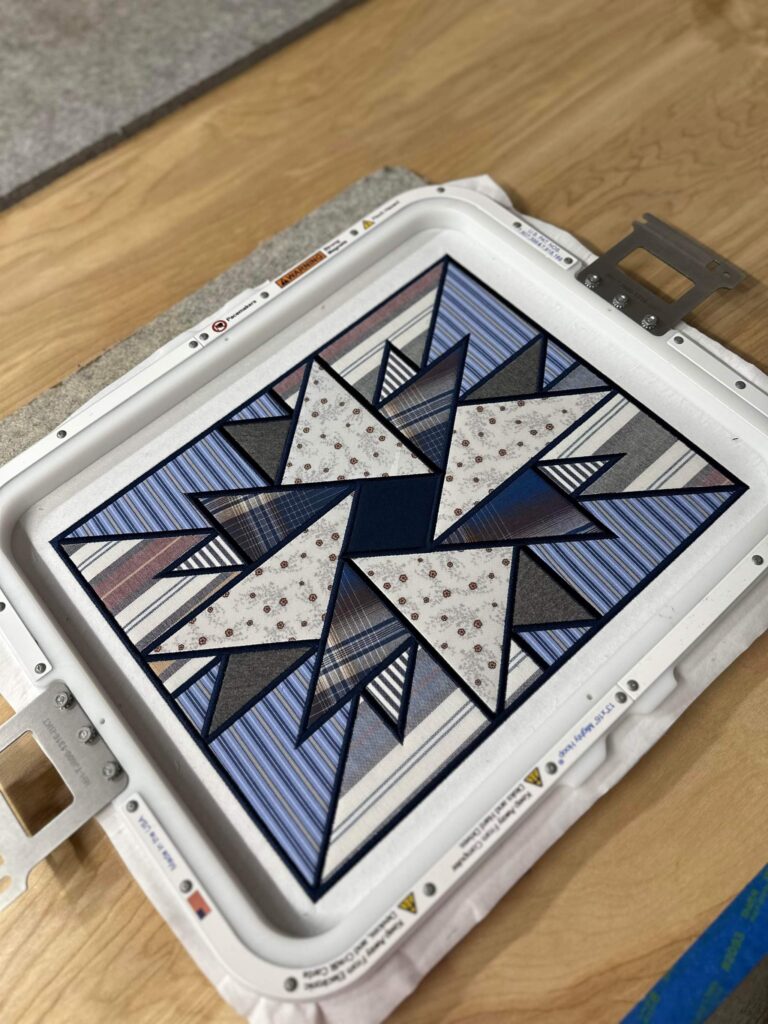
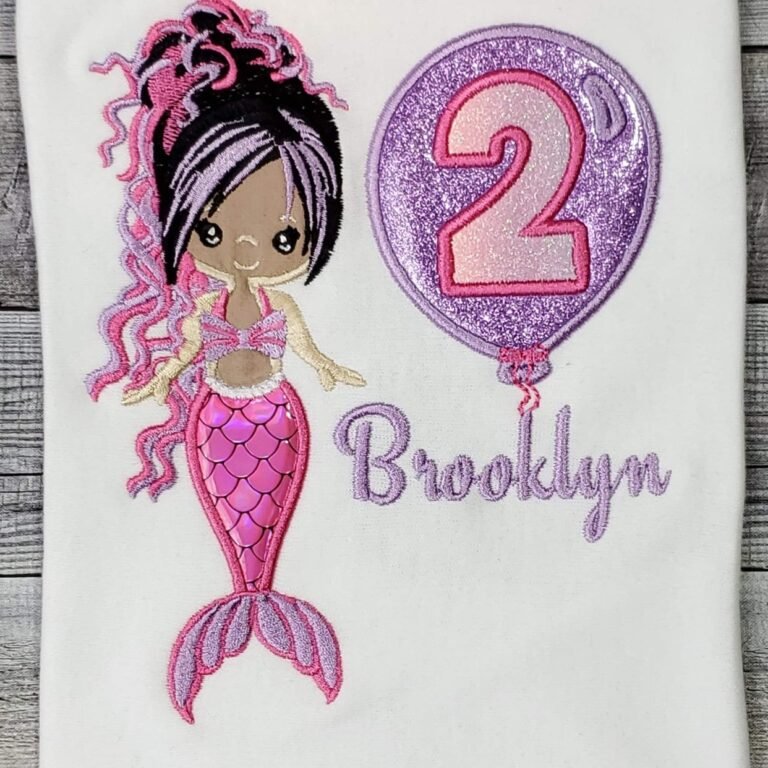
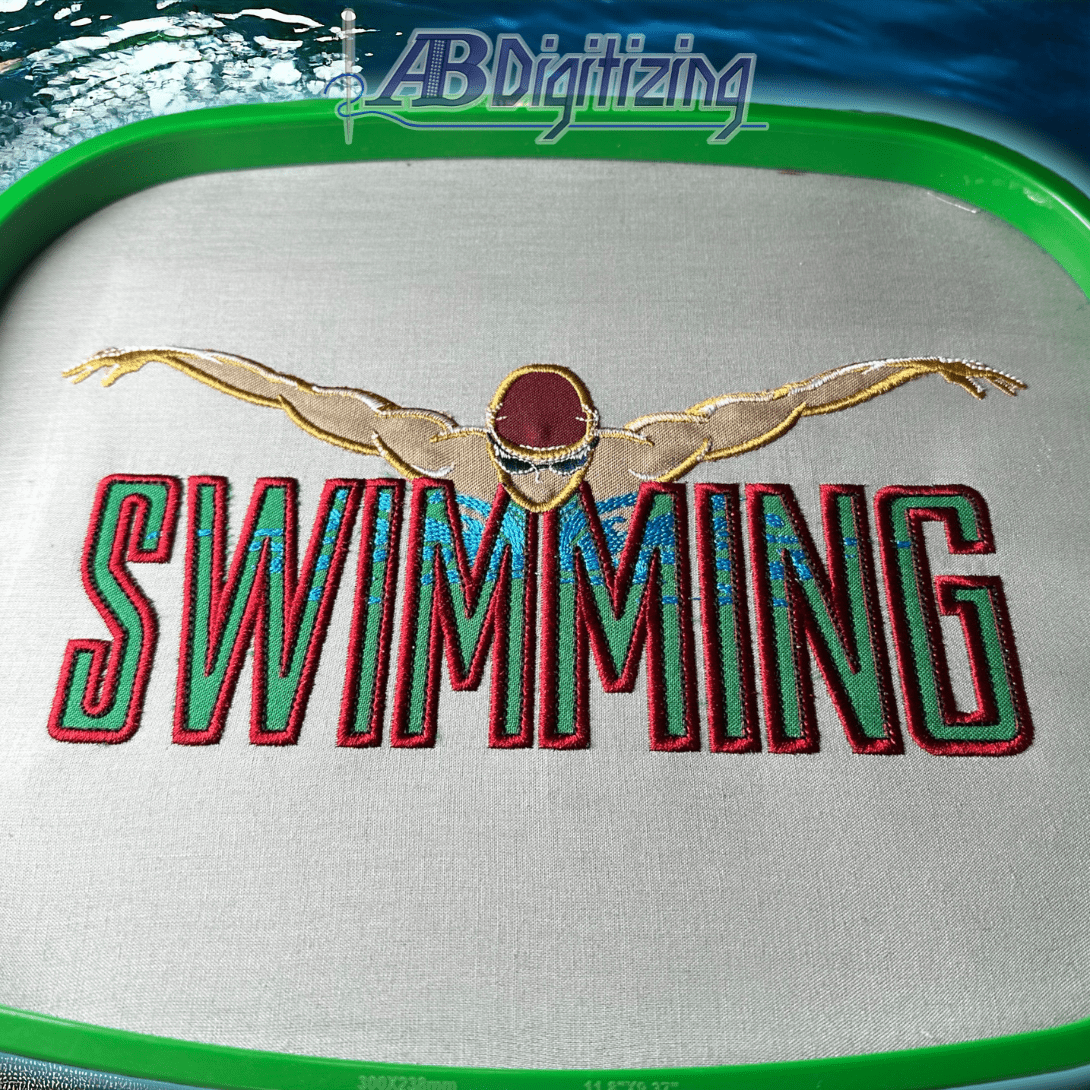
Appliqué embroidery is commonly used in quilting, clothing embellishment, home decor, and more. Below are some examples of appliqué embroidery to inspire your next project
Step-by-Step Guide
1. Design Creation or Selection: When choosing or creating a design for appliqué embroidery, consider factors such as complexity, size, and suitability for appliqué. You can find designs online or create your own using design software. We recommend choosing designs with thick outline, so the edges cover the fabric completely! see our applique embroidery designs and try your new skills!
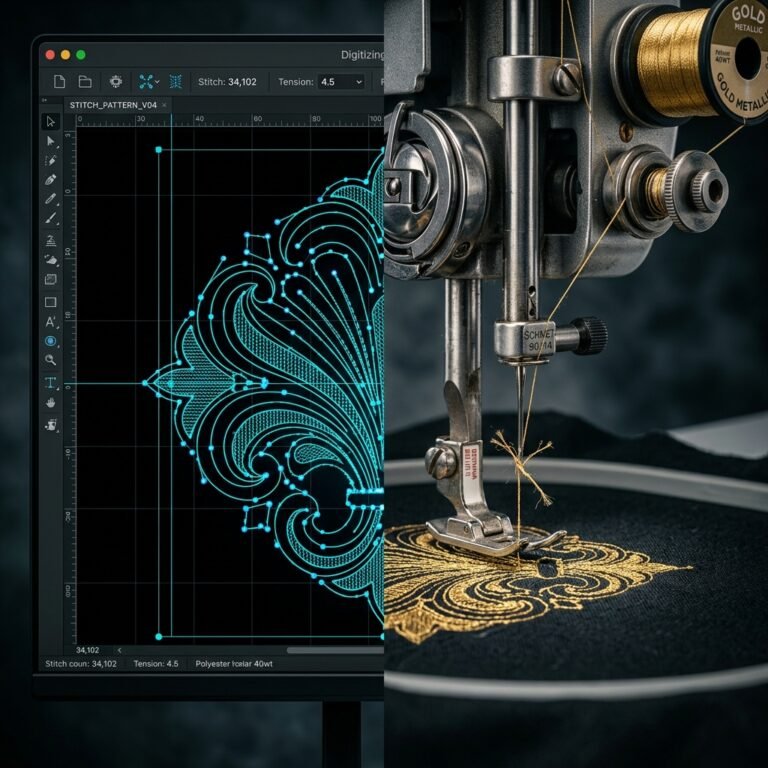
2. Digitizing the Design: Import your design into embroidery digitizing software and use the tools provided to digitize it. Specify stitch types, densities, and colors to achieve the desired look. If you don’t have any digitizing skill, you can ask your preferred digitizer to get it done. Ask for indications such as what parts of the designs do you need as applique and what type of applique you require!
We offer digitizing service so you can achieve the maximum quality stitch out for your projects, click here to send us your design!
3. Prepare Fabric: Select fabric for the base (The fabric base is your selected garment e.g. Jacket, Shirt, Towel, Hat…) and the appliqué layers, ensuring they are suitable for embroidery. Stabilize the base fabric to prevent stretching during embroidery and cut the appliqué fabric into shapes that match the design elements. If you are a beginner and can’t cut the fabric into shapes with industrial machine, then you can use the knockdown stitches to secure the fabric and then use the scissors to cut it into the shape of the piece.
4. Embroidery: Hoop the stabilized base fabric and thread the embroidery machine with the appropriate thread colors. Run the machine according to the digitized pattern, stop the machine after placement stitch.
5. Appliqué Stitching: Securely place the appliqué fabric over the respective design elements on the base fabric. The machine will stitch the outline of the design elements as guides onto the fabric so you can place the fabrics for the applique. Place the fabric onto the guides and then stitch the knockdown stitches and after that just Trim the excess fabric and let the machine complete the embroidery.
6. Finishing Touches: Carefully remove any excess stabilizer from the back of the embroidery, trim loose threads, and press the finished embroidery to remove wrinkles.
Tips for Success
- Test your design and process on scrap fabric before starting your project.
- Choose high-quality thread and fabric for better results.
- Practice good hooping techniques to ensure stability during embroidery.
- Pay attention to thread tension to avoid puckering or loose stitches.
- Take your time with each step for the best outcome.
Conclusion
Appliqué embroidery is a rewarding and enjoyable technique that allows you to create beautiful, textured designs. Follow the steps outlined in this guide and apply our tips for success, you’ll be well on your way to creating stunning projects. We hope this guide has inspired you to explore the world of digitizing and embroidery!
I hope this article helped you! For any question, please leave a comment below!