 English
Show prices in
Approximate prices. You always pay in USD. Exchange rates from . Rates By Exchange Rate API
 English
Show prices in
Approximate prices. You always pay in USD. Exchange rates from . Rates By Exchange Rate API
If you have recently invested in an expensive multi-needle embroidery machine in the United States, you are probably eager to start stitching custom logos and premium designs. As you search for digitizing software, you will encounter dozens of programs promising a magic bullet: “one-click auto-digitizing.” The sales pitch is incredibly tempting: simply upload any PNG, JPG, or SVG vector file, click one button, and the software will instantly export a perfect DST or PES file ready to stitch.
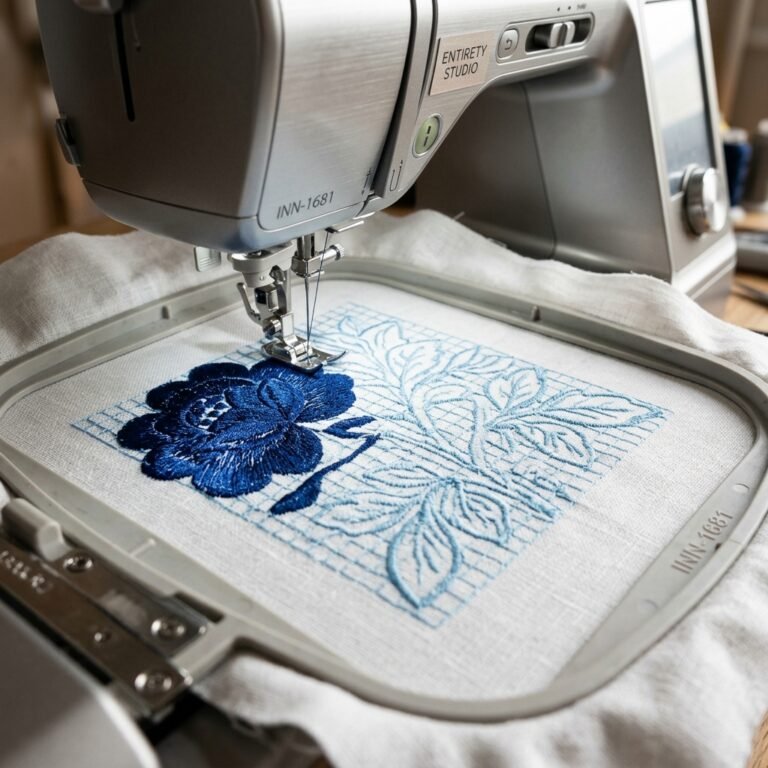
Unfortunately, this “one-click” promise is a massive illusion. Machine embroidery is not a two-dimensional printing process; it is a three-dimensional physical medium that involves thread tension, fabric stretch, and high-speed mechanical motion. Attempting to use auto-digitized files on commercial or home machines almost always results in constant thread breaks, birds’ nests, broken needles, ruined fabrics, and massive gaps in outline registration. Let’s compare manual embroidery digitizing against automatic software and see why human artistry is strictly required for success.
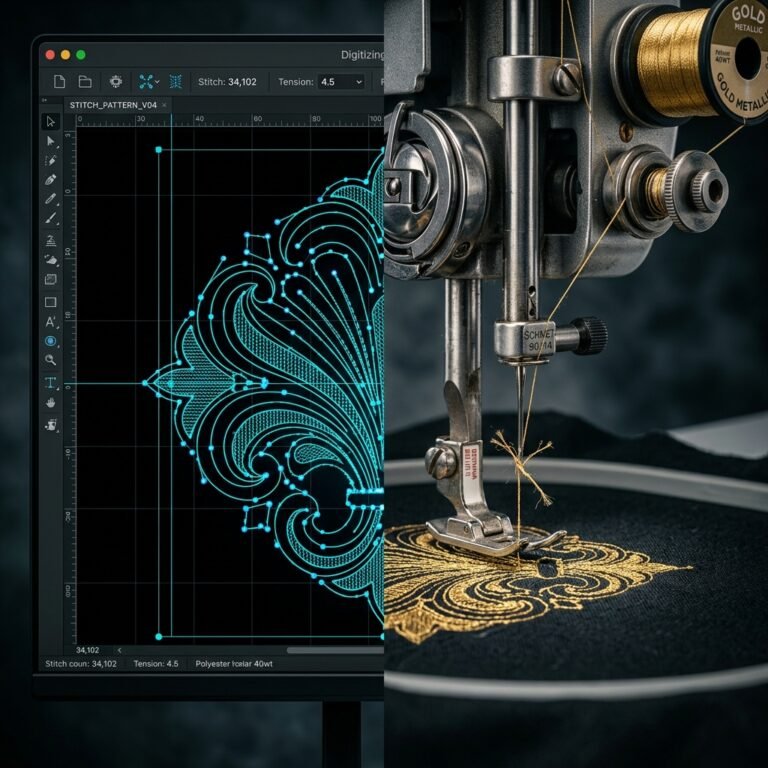
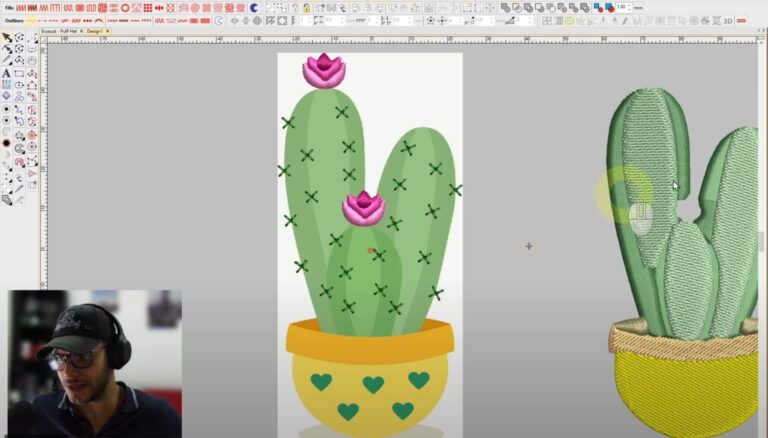
Automatic digitizing software uses basic color-boundary math. It scans the pixels of your image, detects where one color ends and another begins, and fills the resulting geometric shapes with a grid of stitches. The software does not understand fabric. It treats a lightweight pique polo, a stretchy polyester performance tee, and a stiff denim jacket identically.
In contrast, an expert manual digitizer evaluates your design based on physical factors:
Time is money in any commercial embroidery shop. A poorly digitized file will double your production times. Consider this comparison:
| Stitch Feature | Auto-Digitizing Software | Professional Manual Digitizing |
|---|---|---|
| Average Stitch Count | Very High (redundant overlapping fills) | Optimized (balanced density, light underlays) |
| Jump Stitches / Trims | 30 to 50 unnecessary trims | Minimized (less than 5 trims per design) |
| Stitch Speed | Slow (constant slowing for jumps/short stitches) | High-Speed (smooth pathing, runs at 800+ SPM) |
| Fabric Puckering | Severe (massive stitch buildup, generic underlays) | Zero (custom fabric-specific underlay stabilization) |
A manual digitizer carefully programs structural foundation layers (underlay) to lock the fabric down before the top fill starts. Read our extensive guide on understanding embroidery underlay stitches to see how this foundation completely replaces heavy solid thread fills, keeping your garments soft and light.
Furthermore, specialty techniques like Yupoong snapbacks or puff embroidery are impossible to achieve via software; check our ultimate guide to 3D puff embroidery to see why human capping and pinching are mandatory.
While auto-digitizing software is a cheap and quick temptation, the hidden costs are ruined garments, wasted threads, machine wear-and-tear, and frustrated clients. If you want your custom branding, corporate apparel, and sports team emblems to look spectacular, always invest in professional manual embroidery digitizing. At ABDigitizing, we program every design by hand, stitch by stitch, guaranteeing flawless machine performance and premium retail quality. Order your manual digitizing service today!