 English
Show prices in
Approximate prices. You always pay in USD. Exchange rates from . Rates By Exchange Rate API
 English
Show prices in
Approximate prices. You always pay in USD. Exchange rates from . Rates By Exchange Rate API
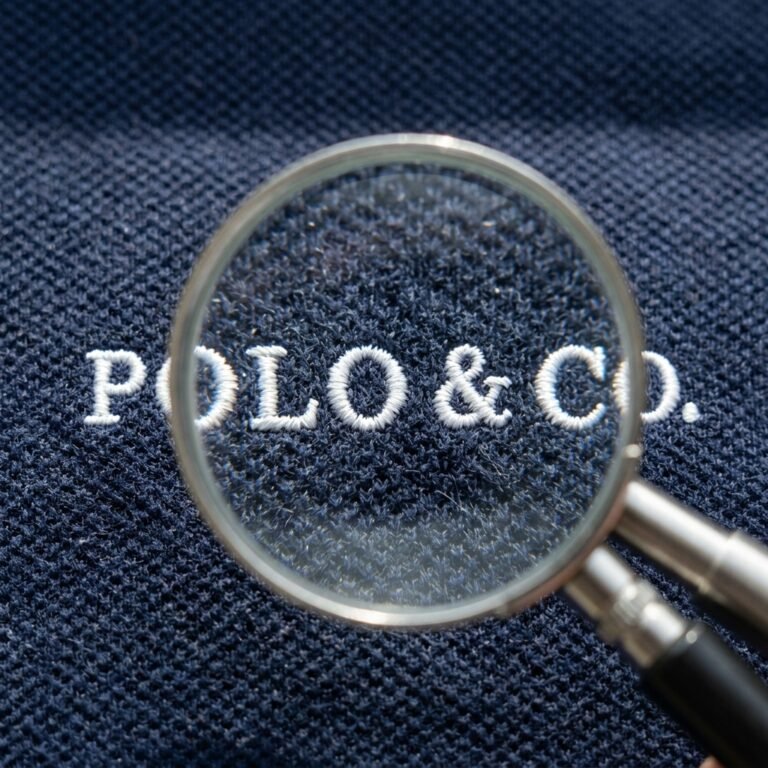
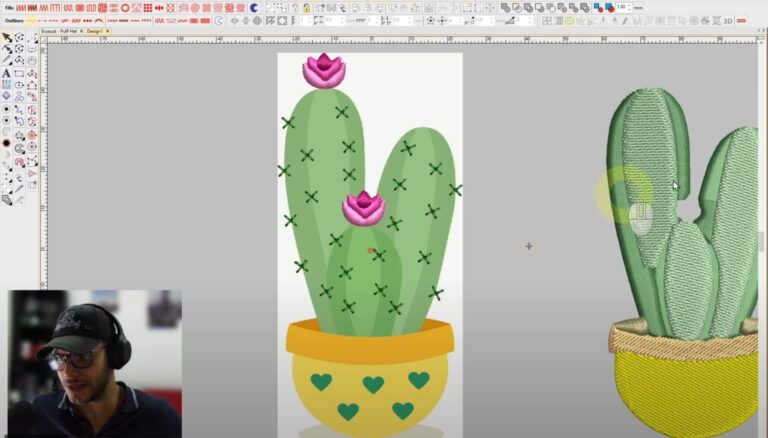
Struggling with tiny text on your embroidery machine? In this step-by-step guide, you’ll learn how to embroider small letters in Wilcom using the same expert techniques I use as a professional digitizer. Discover the best stitch types, optimize your stitch sequence, and master the tools and shortcuts that make tiny letters crisp and clean, whether you’re working on caps, polos, or flat garments.
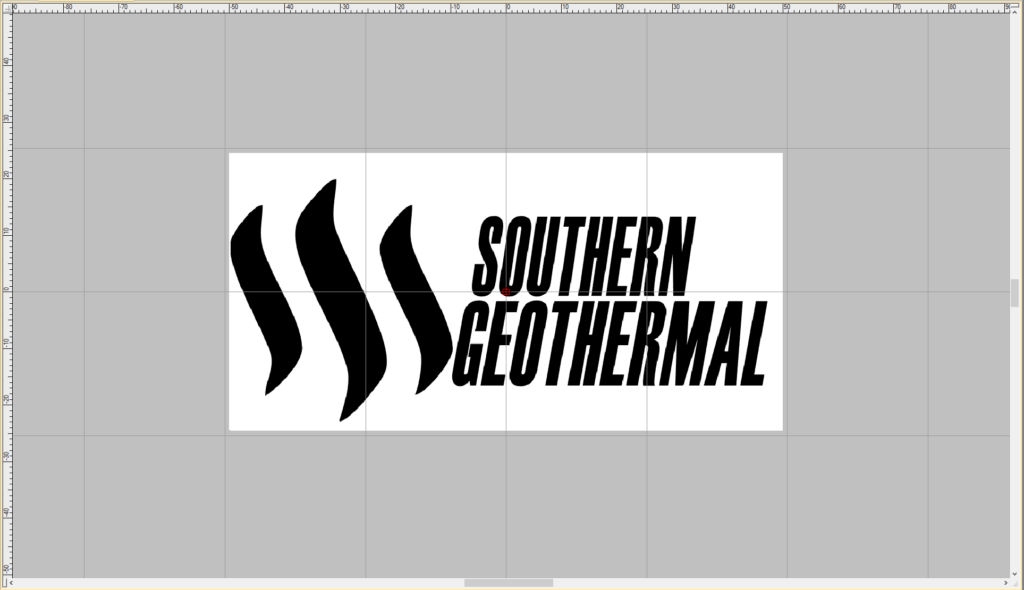
Before you begin digitizing:
K key so it stays in place as a visual guideShift + G if you don’t need them on-screenThis preparation ensures precision in every step that follows.
Wilcom provides three main stitch types:
Shift + I): Ideal for detailed borders and lettersShift + M): Best for large filled areas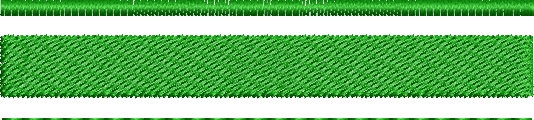
Choosing the right stitch type is key to getting clean results.
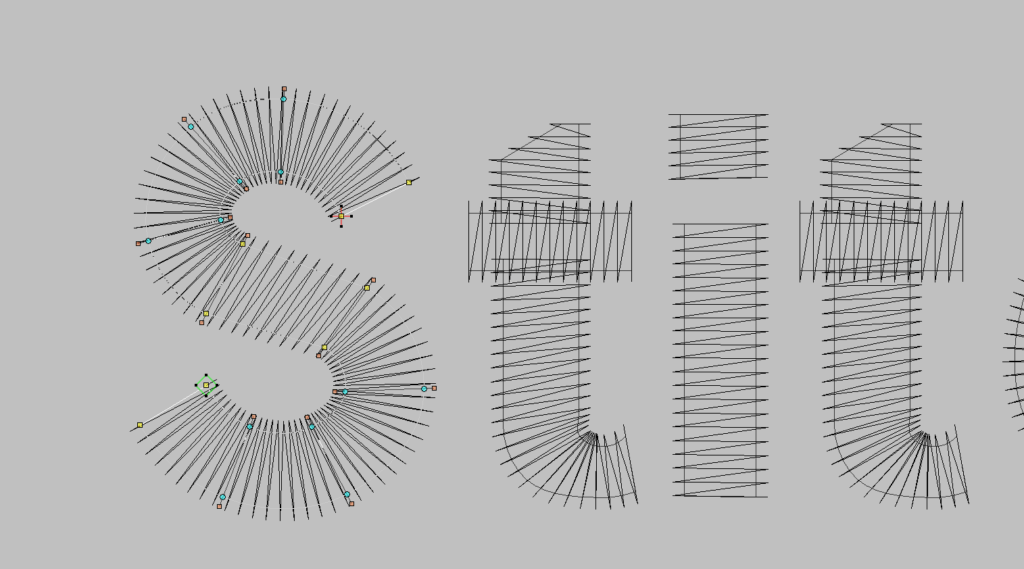
While Wilcom offers built-in fonts, manually digitizing letters gives you more control and better results. I recommend:
F3, create straight nodes (left-click) and curved nodes (right-click)Ctrl + H to control directionThis level of control is crucial for tiny text.
To make your work faster and more precise:
Ctrl + 1) & (Alt + 1) for horizontal or vertical symmetryThese tools help keep your letters balanced and professional.
Digitizing isn’t just about shape, it’s also about telling the machine what to do first:
I) to connect pieces and reduce jumpsH to minimize trimsA clean sequence = a faster, smoother embroidery run.
.DST for industrial machines.PES for Brother.JEF for JanomeAlways do a test stitch before production.
If you’re working on a complex logo, tiny text, or simply don’t have time to digitize it yourself. I’ve got you covered.
At ABDigitizing, we offer professional embroidery digitizing services with fast turnaround, perfect stitch quality, and formats ready for any machine.
Whether it’s for caps, polos, towels, or custom projects. We’ll make sure your embroidery runs smoothly from the first stitch.
👉 Click here to request your custom digitizing
Once you apply these steps, your small letters will come out sharp, readable, and professionally clean. In the video, I show you the digitizing process in detail and the final embroidered result, perfectly crisp, even at just 76mm wide.
If this guide helped you, share it with someone who wants to level up their embroidery! ✂️🧵