 English
Show prices in
Approximate prices. You always pay in USD. Exchange rates from . Rates By Exchange Rate API
 English
Show prices in
Approximate prices. You always pay in USD. Exchange rates from . Rates By Exchange Rate API
Custom patches are one of the most profitable and high-demand segments in the modern apparel decoration industry. From military morale patches and police uniform emblems to massive multi-piece motorcycle club rocker sets, custom patches are highly sought after in the United States. They offer embroiderers a major advantage: instead of hooping and stitching directly onto a complex garment (like a heavy leather jacket or a thick canvas bag), you stitch the patch onto stable backing material and apply it to the garment later using heat-press adhesive, Velcro, or a straight border stitch.
However, digitizing for custom patches is completely different than digitizing for a standard polo shirt. A patch must be a self-contained, stiff, durable piece of art that does not warp, curl (“cup”), or fray at the edges. In this masterclass guide, we will teach you exactly how to digitize custom patches that look clean, feel professional, and stand the test of time.
The border is the defining characteristic of a premium patch. It seals the edges and prevents the fabric base from fraying. There are two primary ways to create this border:
A true merrowed border is a heavy, three-thread overlock stitch wrapped around the edge of a pre-cut patch. This is done on a specialized industrial merrowing machine after the patch design is stitched. If you plan to finish patches this way, the digitizer simply programs a clean, simple vector outline representing the cut line. You stitch the interior design on twill fabric, cut the patch out along the line, and feed it into the merrowing machine.
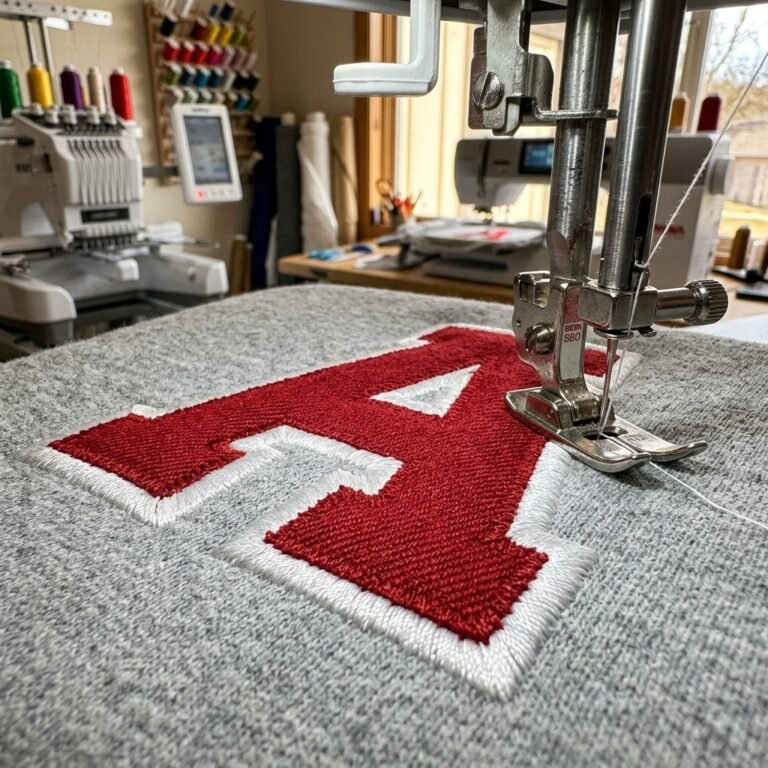
If you do not own a specialized merrowing machine, you can simulate a heavy overlock border directly on your embroidery machine. A simulated border requires a wide satin stitch (usually 4.0mm to 5.0mm wide) programmed around the perimeter. To prevent the satin border from tearing the backing or sinking, a professional digitizer will place a double underlay (a center-run combined with a tight zigzag) directly beneath the border. Read about why this underlay is essential in our underlay stitches guide.
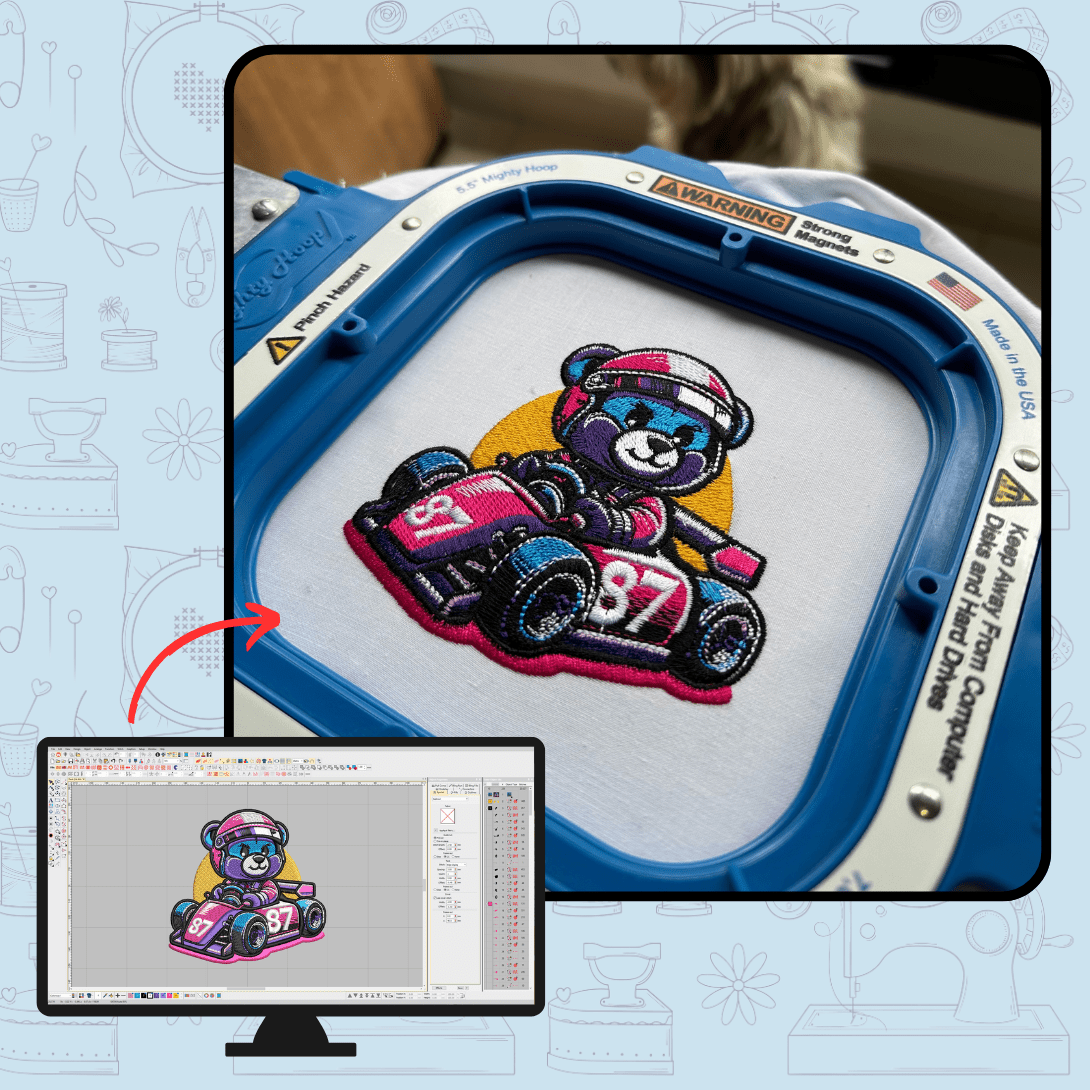
Stitching a patch with dense, full-coverage embroidery requires heavy-duty stabilizers. If you use a light, single-layer tear-away, the dense stitches will distort the patch, causing the edges to buckle and curl upward (a common issue known as “cupping”). Follow these stabilizer rules:
If you’re unsure about digitizing software vs manual methods, read our comprehensive overview of manual embroidery digitizing vs auto-software to see why human pathing is critical for dense patches.
Learning how to digitize custom patches opens up a highly lucrative market. By utilizing twill backing, heavy stabilizers, custom border underlays, and balanced interior stitch densities, you can produce professional, durable patches that command premium prices. At ABDigitizing, we specialize in manual patch digitizing, providing you with production-ready files that run smoothly on any machine. Order your custom patch digitizing service today!