 English
Show prices in
Approximate prices. You always pay in USD. Exchange rates from . Rates By Exchange Rate API
 English
Show prices in
Approximate prices. You always pay in USD. Exchange rates from . Rates By Exchange Rate API
In the custom apparel and machine embroidery industry, nothing is more frustrating or costly than constant embroidery thread breaks. Every time your commercial or home embroidery machine stops due to a thread break, your production rate plummets, your operators lose focus, and your risk of ruining premium garments (like Yupoong snapbacks or polyester pique polo shirts) spikes. In the United States, where rapid turnaround times dictate success, diagnostic efficiency is key.
But when the thread snaps, where does the blame lie? Is it a mechanical machine failure, poor quality thread, or did your digitizer deliver an improperly programmed design? In this comprehensive troubleshooting guide, we will dissect the mechanical versus digital causes of embroidery thread breaks, giving you a definitive playbook to solve this nightmare forever.
Before criticizing your digitizing files, it is crucial to eliminate mechanical and hardware factors. Over 60% of all thread breaks are caused by basic maintenance neglect or incorrect machine setup. Work through this checklist:
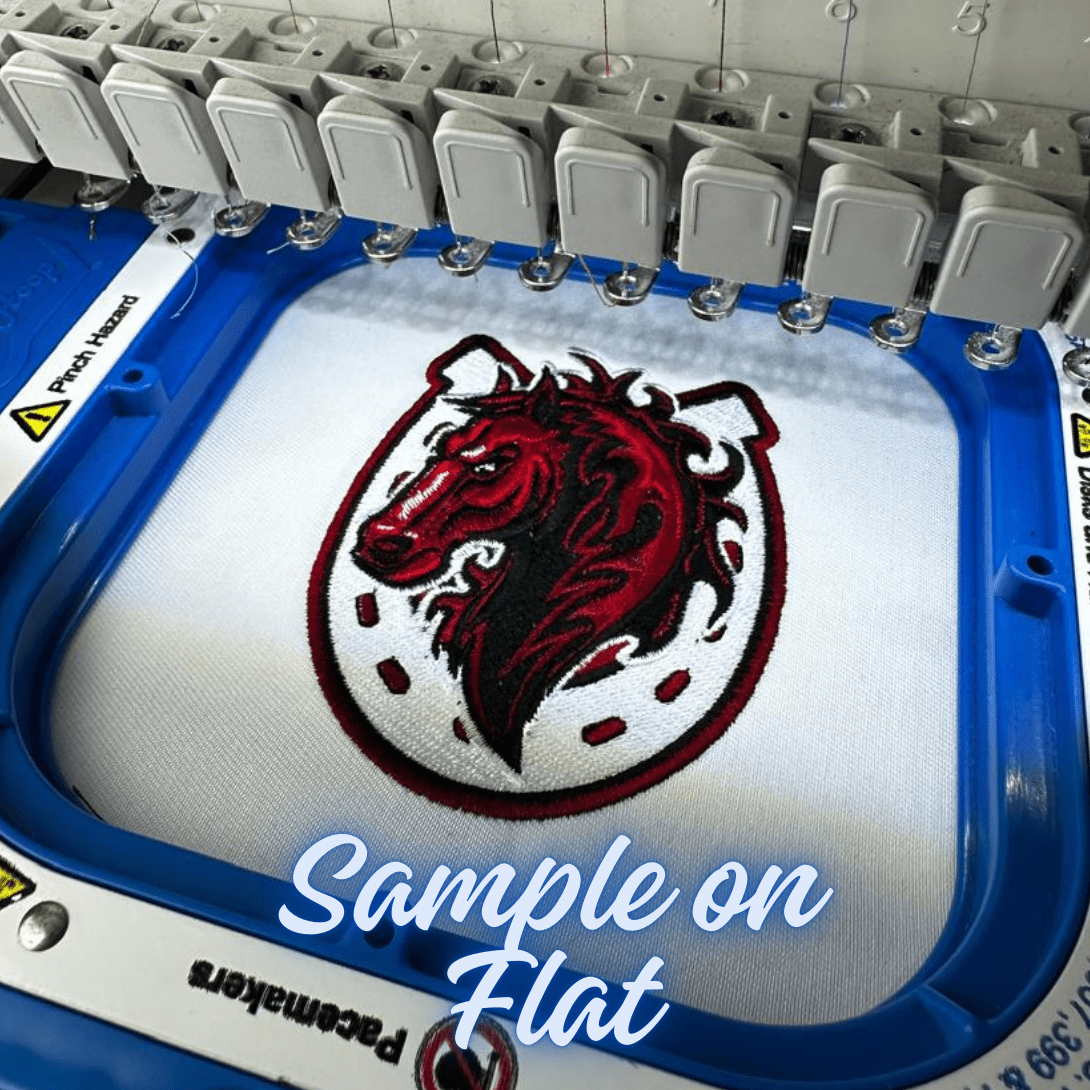
If your machine is perfectly calibrated and runs other designs flawlessly, but consistently breaks thread in one specific spot on a particular file, you are dealing with a digitizing error. Unlike automatic digitizing software which throws stitches blindly, a professional manual digitizer plans every stitch to avoid physical thread stress.
Here are the primary digitizing errors that lead to embroidery thread breaks:
Stitches that measure less than 1.0mm (10 points in digitizing software) are extremely dangerous. A standard embroidery needle has a physical thickness. If the machine attempts to place three or four needle penetrations in an area smaller than a millimeter, the needle will hit the previously laid threads, shredding the fiber and snapping the thread. This is a common flaw in auto-digitized files and cheap designs.
Stitch density represents the distance between two lines of thread. For standard 40-weight polyester thread, a normal density is 4.0 points (0.4mm). If a digitizer layers heavy tatami fills, zigzags, and thick satin borders on top of each other without reducing the density of the underlying layers, the needle has to force its way through a solid wall of thread. The friction creates extreme heat and tension, snapping the upper thread. This is highly relevant when dealing with heavy underlays; check out our guide on understanding embroidery underlay stitches to see how we prevent this.
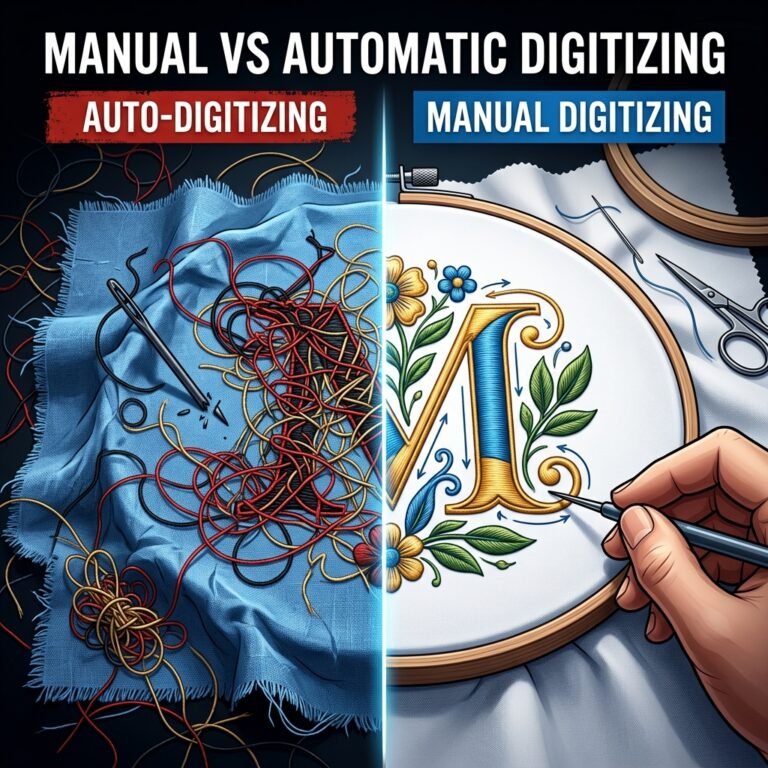
When thread is pulled tight across fabric, the fabric naturally gathers and creates pull tension. A poor digitizer fails to compensate for this push-and-pull effect. As a result, the satin columns pull too tight, squeezing the thread against the stabilizer and slicing the thread on the needle plate hole. Our studio combats this by programming fabric-specific pull compensation, ensuring columns remain loose enough to stitch smoothly. This is especially true for manual files, which you can read about in our breakdown of manual embroidery digitizing vs auto-digitizing.
Solving thread breaks requires a methodical approach. Calibrate your mechanical tension, swap to a fresh needle, check for scratches on your hook, and ensure you are using premium manual digitizing files. At ABDigitizing, we guarantee that all our designs are manually programmed with optimal stitch lengths, clean pathing, and zero micro-stitch clusters, providing you with high-speed, trouble-free production every time.